In today’s digital age, online learning platforms like Study Island have become essential tools for students, teachers, and parents. Study Island offers a fun and effective way for students to practice their skills in subjects like math, reading, science, and social studies. Therefore, whether you are a teacher setting it up for your class or a student starting on your own, sign up Study Island is an easy process. In this article, we will guide you through 6 simple steps for Sign Up Study Island and get started with personalized learning.

What is Study Island?
Before we dive into the sign up Study Island process, l want to explain what Study Island is. It is an online educational tool designed to help students practice and improve their skills in core subjects. Study Island provides a variety of learning materials, such as lessons, quizzes, and practice tests that align with state and national standards.
What makes Study Island special is its personalized learning system. As students work through different subjects, the platform adapts to their skill level, ensuring they receive the appropriate challenges and support. Teachers can also monitor student progress, assign lessons, and track their improvement over time.
Steps for Sign Up Study Island :
Here are 6 easy steps to get started with Study Island:
Step 1: Visit the Study Island Website
The first step to signing up is to go to the Study Island website. Open your web browser and type in www.studyisland.com in the address bar. This will take you to the Sigh up Study Island homepage, where you can explore the platform’s features.
Take some time to browse through the website to familiarize yourself with what Study Island offers. You will find helpful information about the various subjects, the types of learning activities available, and the benefits of using the platform.
Step 2: Choose the “Sign Up” Option
Once you are on the homepage, look for the “Sign Up” button, typically located at the top-right corner of the screen. Click on the button to begin the sign up Study Island process. You will be taken to a page where you can choose your role, whether you are a teacher, student, or parent.
- For Teachers: If you are a teacher, you will sign up Study Island to manage your class, assign lessons, and monitor your students’ progress.
- For Students: If you are a student, you will sign up Study Island to access personalized lessons and track your learning.
- For Parents: If you are a parent, you can sign up Study Island to track progress of your child and help guide their learning.
Step 3: Provide Your Information
Next, you will need to provide some basic information to create your account.
- For Teachers: Teachers will be asked to enter their name, email address, school district, and create a username and password. You may also be asked to select the grade levels and subjects you teach.
- For Students: If you are a student, you will likely need a unique access code or username provided by your teacher or school district. This code helps link your account to your classroom or school.
- For Parents: If you are a parent, you will need to enter your child’s unique access code and some basic contact information.
Make sure to double-check that all the information is correct before moving on to the next step.
Step 4: Verify Your Email Address
After you have entered your details, Study Island will send a verification email to the address you provided. This is an important step to confirm your account.
Go to your inbox, open the email from Study Island, and click the verification link to activate your account. If you do not see the email, check your spam or junk folder just in case it was misplaced. Once you click the link, your account will be confirmed, and you can move on to the next step.
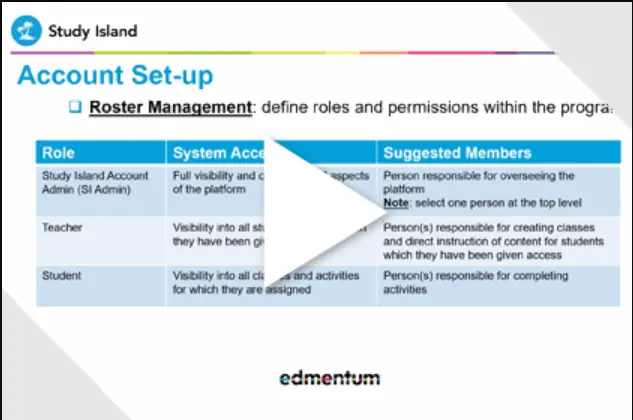
Step 5: Set Up Your Profile
Once your email is verified, you will be prompted to set up your profile. Here is what you will have to do:
- For Teachers: You will need to add your classroom information, including the subjects and grade levels you teach. You may also have the option to upload your class roster, which will make it easier to assign lessons to your students.
- For Students: Students will need to select their grade level and choose the subjects they want to focus on. The platform will then create a personalized learning plan based on the student’s needs.
- For Parents: Parents will need to link their child’s account and choose the subjects or areas of learning they want to track.
Make sure to take your time and accurately fill out the profile details to ensure a smooth experience.
Step 6: Start Learning and Assign Lessons
Now that your profile is set up, you are ready to start learning! As a teacher, you can assign lessons and track your students’ progress. You can choose specific subjects or skills for students to work on, and Study Island will tailor the activities to meet their needs.
For students, you can start exploring the lessons, quizzes, and practice tests available in your chosen subjects. You will receive feedback on your progress and can focus on areas that need improvement. Study Island’s interactive features make learning engaging and fun.
As a parent, you can monitor your child’s progress by checking their performance on assignments and quizzes. You can use this information to guide your child and offer support when needed.
Conclusion
Signing up for Study Island is simple and easy, with just 6 steps to get started. Whether you are a teacher managing a classroom, a student looking to practice at your own pace, or a parent supporting your child’s learning, Study Island offers a personalized learning experience designed to help students succeed.